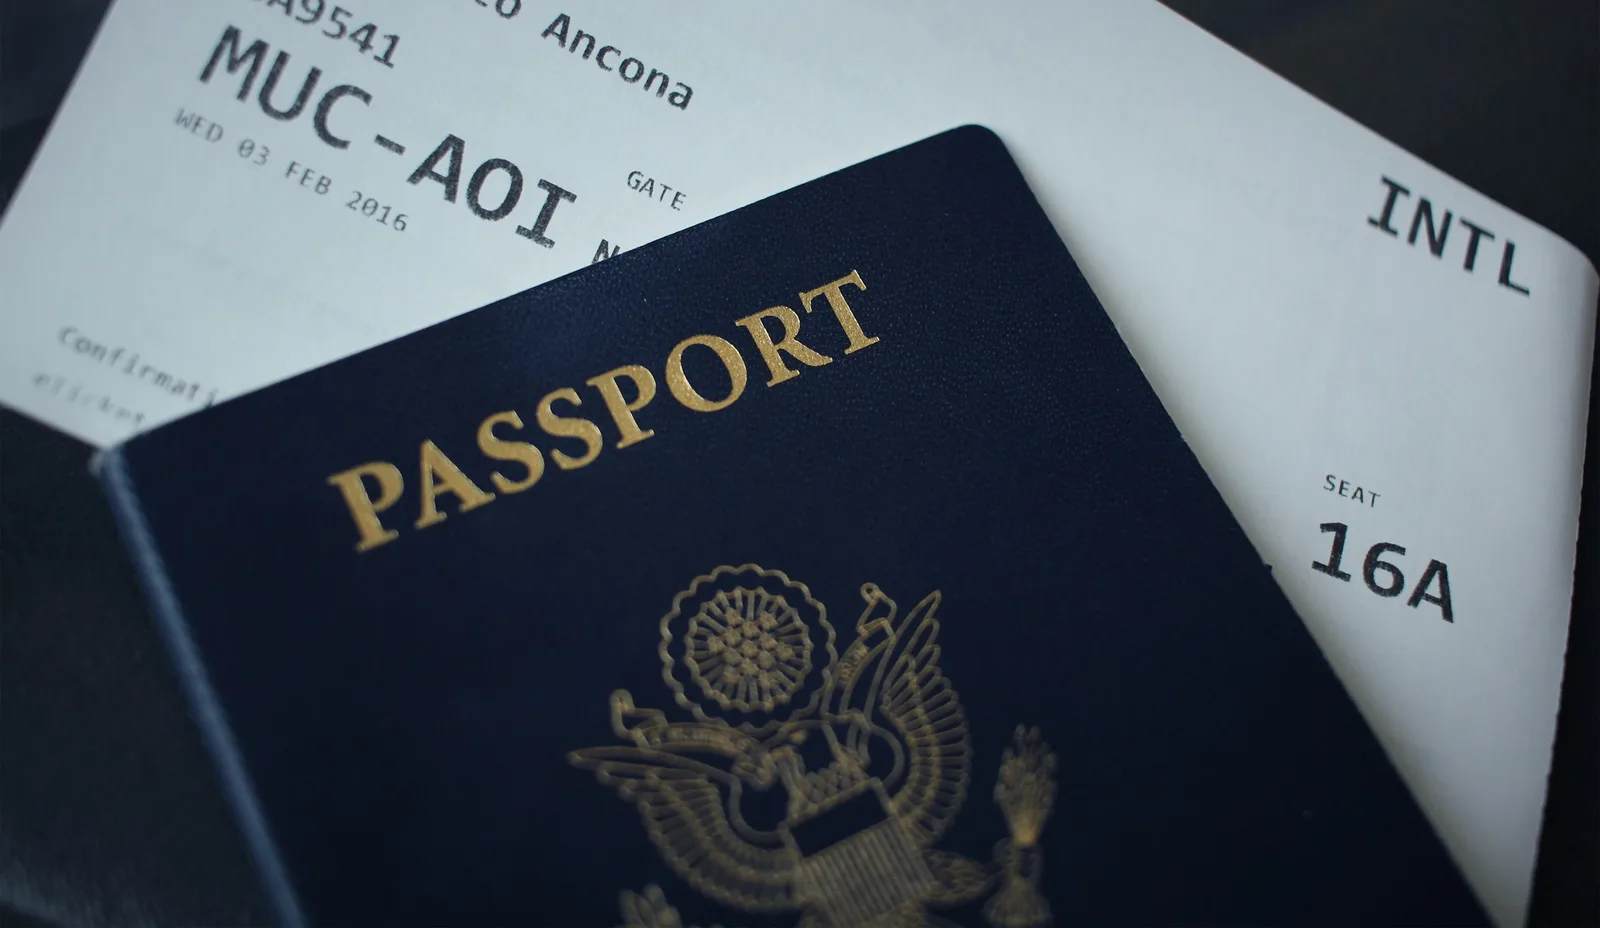
After your EPIK Notice of Appointment arrives, the E-2-2 visa application happens at your assigned Korean consulate. Step-by-step guide with US (DC / Seattle / Houston / Dallas / Atlanta / Philadelphia), UK (KVAC London), and South African (Pretoria + TB X-ray) instructions.
Your EPIK Notice of Appointment is on its way. Once the envelope lands, it's time to apply for your E-2-2 visa — and the exact playbook changes depending on whether you're filing from Atlanta, London, Pretoria, or somewhere else entirely.
This guide covers what to put in the application packet, where to physically take it, what's different about your specific consulate, and what your approved visa will look like. If you're earlier in the process — apostilling your degree, waiting on your FBI check, picking a TEFL course — start with our E-2 Visa Korea 2026 guide and the EPIK Fall 2026 Application Timeline, then come back.
The four steps, after the package arrives
Prepare. Track. Apply. Wait.
- Prepare — gather the paperwork the consulate needs from you, on top of what EPIK sends.
- Track — your NoA and contract package is shipped by courier; be ready to sign for it.
- Apply — submit to your assigned consulate as soon as the package arrives. Same week, if you can.
- Wait — wait for approval. Do not book flights yet.
What goes in your application packet
Every consulate asks for a slightly different stack, but the core is consistent.
- Notice of Appointment (NoA) and teaching contract — both originals. Sign every page of the contract in pen. Be thorough! We've seen applications bounced back because a single page was unsigned.
- Your passport — copy or original depending on the consulate.
- Passport-sized photos — for the visa application itself, one is usually enough. Some consulate websites list "up to five." Check the specific size requirements with your consulate.
- Completed visa application form — Korvia emails you a step-by-step walkthrough video and a support article for filling it out correctly. Bookmark that email; you should refer back to it.
- Visa fee — cash for in-person appointments. Money order for mail-in submissions. Card is usually not accepted.
- TB chest X-ray certificate — South African applicants only. More on this in the South Africa section below.
What your NoA and contract envelope will actually contain: a single-page Notice of Appointment from the National Institute for International Education (NIIED) confirming your acceptance, alongside a multi-page Contract for Native English Teacher with your Office of Education (e.g., Seoul Metropolitan Office of Education, Gyeonggi Office of Education, etc.).
Filling out the form — sponsor details: when the application asks for a Korean address and phone number, enter your Office of Education's, not EPIK's. EPIK coordinates the program but does not sponsor your visa; the Office of Education or school you're placed with does. Your placement package lists the right office, and your Korvia coordinator can confirm it.
Single-entry or multiple-entry? Almost always single.
This is the question every webinar Q&A leads with. Here's the rule:
- Single-entry is enough if you fly directly from your home country to Korea and stay there through orientation. This covers most teachers.
- Multiple-entry is required only if you plan to leave Korea after arrival but before you receive your Residence Card (formerly the Alien Registration Card, or ARC). Example: you arrive in Korea before orientation, take a four-day side trip to Japan, then return for EPIK orientation. That's a re-entry, and you need multiple-entry for it.
- Once you have your Residence Card, the entry type on your original visa stops mattering. You can leave and re-enter Korea freely.
One applicant on our May 18 session asked: "I'm arriving in Korea, then going outside the country, then back to Korea for orientation — do I need multiple-entry?"
Yes. That's textbook multiple-entry territory. The risk to avoid is entering Korea on a single-entry, leaving for that side trip, and then not being able to get back in for orientation.
A second applicant asked the inverse: "What if I want to leave Korea on vacation after orientation?" Different scenario entirely. By that point you'll have your Residence Card, which makes the entry type on your original visa irrelevant — come and go as you like.
"Can I just use the consulate closer to me?" No.
Korean consulates have jurisdiction: a fixed list of states or regions assigned to each one. You apply at the consulate that covers your registered address. Not the closer one. Not the one with shorter wait times. The one assigned to your state.
We had an applicant on the May 18 session ask exactly this: "I'm assigned to Atlanta, but DC is closer. I can do both, right?" No — going to a different consulate, even if it's closer, will almost certainly be rejected. Consulates typically ask for proof of address.
If you're moving soon, contact the consulate of the jurisdiction you'll be in by the time you submit. Don't apply from your current state and then move mid-process.
The official jurisdiction lookup lives at overseas.mofa.go.kr/us-en/wpge/m_4501/contents.do. Check yours before you do anything else.
Korean consulates in the United States
This is the jurisdiction breakdown as shown in the official MOFA table:
- Atlanta — District: Alabama, Florida, Georgia, North Carolina, Puerto Rico, South Carolina, Tennessee, Virgin Islands.
- Boston — District: New Hampshire, Rhode Island, Maine, Massachusetts, Vermont.
- Chicago — District: Illinois, Indiana, Iowa, Kansas, Kentucky, Michigan, Minnesota, Missouri, Nebraska, North Dakota, Ohio, South Dakota, Wisconsin.
- Hagatna — District: Guam, Northern Mariana Islands.
- Honolulu — District: American Samoa, Hawaii.
- Houston — District: Arkansas, Louisiana, Oklahoma, Mississippi, Texas (except DFW).
- Los Angeles — District: Arizona, Nevada, New Mexico, South California.
- New York — District: Connecticut, New Jersey, New York, Pennsylvania.
- San Francisco — District: Colorado, Northern California, Utah, Wyoming
- Seattle — District: Idaho, Montana, Oregon, Washington.
- Washington D.C. — District: Washington D.C., Maryland, Virginia, West Virginia
- Anchorage — District: Alaska.
- Dallas — District: Texas DFW (Dallas, Fort Worth).
- Philadelphia — District: Delaware, Pennsylvania.
US sub-cases worth knowing about
The US consulates don't all run the same playbook. Four specific cases come up often enough that they're worth calling out.
Washington D.C.: notify Korvia before you apply. If your jurisdiction routes you to D.C., let your Korvia coordinator or the Korvia-EPIK team know before you go in. The D.C. office expects a few preparatory steps to be coordinated through us, and we'd rather flag them up front than have you make a return trip.
Seattle and Houston: e-form on the Korea Visa Portal is typically expected. Both of these consulates often require you to file the e-form at www.visa.go.kr and print the barcoded receipt before you arrive — they'll expect that printout on top of your application packet. Policy can change, so confirm with your consulate before visiting.
Dallas, Atlanta, and Philadelphia: file the e-form anyway. The e-form isn't strictly required here, but doing it first noticeably smooths the appointment and cuts down back-and-forth. The 10 minutes online saves you a return trip more often than not.
Any other US consulate: phone or email them first. One applicant on our May 18 session pointed out: "When I look at the Dallas Consulate page, there isn't an E-2-2 Visa page that pops up. Will I just need to go in person?" That's a common experience. A lot of consulate websites file E-2-2 under the broader "E-2" category without breaking it out, so the procedures you need aren't always findable online. Calling or emailing the visa section directly is faster than guessing.
United Kingdom — KVAC London
UK applicants don't submit at an embassy or consulate directly. You submit through the Korea Visa Application Center (KVAC) in London, which is operated by IOM UN Migration on behalf of the Korean government.
- Address: 1st Floor, Heron House, 10 Dean Farrar Street, London SW1H 0DX
- Website: visaforkorea.eu
- Email: kvacukinfo@iom.int
- Phone: +44 (0)20 7811 6098
- Contact centre hours (phone & email): Monday to Friday, 08:30–12:00 and 13:00–15:30. In-person submission hours can differ — confirm with KVAC before visiting.
- Submission method: by post or in person.
Korvia sends every UK applicant a separate KVAC instructions PDF in the follow-up email after the live session. Read it cover to cover before you mail anything. KVAC is strict about document order and labelling, and a missing label can mean your package gets sent back instead of forwarded for processing.
One realistic expectation: UK applicants typically wait longer than US applicants overall, because KVAC adds an intake step before your documents reach the Embassy.
South Africa — Pretoria Embassy
South African applicants submit at the Embassy of the Republic of Korea in Pretoria. Not Cape Town. Not Johannesburg.
- Address: 265 Melk Street, Nieuw Muckleneuk, Pretoria 0181
- Visa application hours: Monday to Friday, 08:00–11:30 (mornings only)
- Visa Section phone: +27-12-762-3800
- Visa Section email: visasectionk@mofa.go.kr
- Processing time: once your application is properly accepted, approval usually comes in about 7 business days. In practice the delays South African applicants hit are almost never the consulate being slow — they're a TB screening result that isn't ready or an application that wasn't submitted correctly, so the packet never gets fully accepted in the first place. Get the TB certificate and every form right, confirm the embassy has actually accepted your submission, and the wait itself is short.
- Submission: in person or by mail. The visa cannot be applied for online.
- Reference: https://overseas.mofa.go.kr/za-en/brd/m_23439/view.do?seq=33&page=1
One South African applicant asked us: "We have agencies that assist in applying for visas. Can we use those?" As long as the agency is reputable, it should be fine. Most applicants submit themselves (in person or by post). If you're working with an agency, confirm directly with Pretoria that they recognize the agency before you hand over your originals.
The TB chest X-ray requirement (South African applicants only)
This is the part that catches the most South African applicants off guard. The Korean government requires E-2 visa applicants from South Africa to submit a TB chest X-ray certificate issued by an Embassy-approved hospital.
Two non-negotiables:
- The hospital has to be on the Embassy's approved list. Using a hospital that isn't on the list means an automatic rejection — no exceptions. Korvia sends the current list with the TB report form in your follow-up email. Book your appointment early; slots at the approved providers fill up quickly.
- Use the official "Certificate of TB Screening" form. The Embassy publishes its own form for the doctor to fill out and sign. Print it, bring it to your X-ray appointment, and the hospital completes the medical sections.
A common question we got on May 18: "For the TB X-ray, there are three types — standard, single view, and double view. Which do you recommend?" We don't make this call for you; it's a medical question and a consulate-policy question. Ask the Pretoria visa section directly at the email above when you book.
A deeper walkthrough of the SA TB test process lives at korvia.com/south-african-e2-visa-applicants-tb-test.
Applying from other countries
Korvia primarily processes applications from the US, UK, and South Africa, so the consulate-specific notes above reflect what we know firsthand.
Canada — four consulates by province
If you're applying from Canada, your consulate depends on your province. The Ottawa embassy covers Ottawa and Nunavut; Toronto covers the rest of Ontario plus Manitoba; Vancouver covers BC, Alberta, Saskatchewan, Yukon, and the Northwest Territories; Montreal covers Quebec and the Atlantic provinces. Most Canadian consulates accept mail-in applications via Canada Post Xpresspost (prepaid, self-addressed return envelope) as well as in person.
If you're an EPIK (E-2-2) applicant, you've already given your criminal record check to EPIK during the application stage — that's part of how your Notice of Appointment was issued. You don't submit it again at the consulate. The Canadian visa document set is lean: visa form, passport photo, original passport (6+ months validity), and copies of your Notice of Appointment and employment contract. The RCMP-specific rules below matter mainly while you're preparing that check for EPIK, not at the consulate. If a consulate ever asks to see it, you can show a photocopy. For the full RCMP process, see our RCMP criminal record check guide.
Australia — embassy plus three consulates
Australia splits by state. The Canberra embassy handles ACT, WA, SA, and TAS; the Sydney consulate handles NSW and NT; Brisbane handles QLD; Melbourne handles VIC. You can apply in person or by post (use a tracked, signature-on-delivery service and a prepaid return envelope). The Canberra embassy lists a processing time of around 20 working days for the E-2, excluding postal transit; treat that as a guideline, not a guarantee.
For EPIK (E-2-2) applicants the document set is lean: visa form, one passport photo, original passport valid 6+ months, a copy of your Notice of Appointment, and a copy of your employment contract. You don't submit a criminal background check at the consulate — EPIK already collected and cleared it during your application, which is what your Notice of Appointment reflects. The AFP details in our Australian background check guide are for that EPIK stage, not the visa appointment.
New Zealand — Wellington embassy and Auckland consulate
New Zealand applicants apply through the Wellington embassy or the Auckland consulate (honorary consulates in Christchurch and elsewhere don't process E-2 visas). Applications are accepted in person or by mail; there's no online filing. As an EPIK applicant you bring your Notice of Appointment and employment contract — your Ministry of Justice criminal record check went to EPIK earlier and isn't re-submitted at the consulate. Confirm which office covers your address before sending anything. See our New Zealand background check guide for the EPIK-stage check.
Ireland — Dublin embassy, by appointment only
Ireland routes everything through the Dublin embassy, and every applicant must apply in person with an online appointment booked through the Consular Services 24 portal; phone and email bookings aren't accepted. Eligibility to file in Dublin is specific: Irish citizens, EU nationals resident in Ireland, long-term residents (24+ months with GNIB/IRP), or holders of a visa issuance number. EPIK applicants bring the Notice of Appointment and contract; the Garda police certificate is part of your EPIK application, not a fresh consulate submission. Our Ireland background check guide covers that step.
For all four countries, give yourself room: the visa can take three to four weeks, and that stretches further around public holidays or when a consulate is busy. Processing times and fees vary by consulate, nationality, and season, and the requirements above can change, so always confirm the current checklist and timeline directly with the specific Korean consulate or embassy that has jurisdiction over your address before you submit — ideally a second time, right before you file. Korvia coordinators can point you to the right office. You'll also need the right Korean address for the form, which is your Office of Education's address, not EPIK's.
Tracking your application
Once you submit, you can check your application status on the Korea Visa Portal: www.visa.go.kr → Check Application Status. The portal is at www.visa.go.kr.
You'll need:
- Your visa application type
- Your passport number (or application/receipt number)
- Your full name as it appears on the machine-readable bottom line of your passport — not as you'd write it in a letter, but the exact spelling the MRZ uses
- Your date of birth
Bookmark this site. You'll use it again later for status checks on dependents, re-issuances, or future visa types.
What your approved visa actually looks like
The document you receive is called a Visa Grant Notice (사증발급확인서). Some consulates print it for you to pick up; others mail it. A few will email a PDF for you to print.
For EPIK teachers, the key fields you'll see on the Visa Grant Notice are:
- Status of Stay: E-2-2
- Period of Stay: typically 13 months
- Number of Entries: Single (unless you specifically applied for multiple-entry)
- Issuing Authority: the Ministry of Justice, Republic of Korea
- Validity Period: the window in which you must enter Korea
The 13 months covers your standard EPIK contract year plus a buffer at each end. Once you're in Korea and pick up your Residence Card, the Residence Card becomes the document that governs your stay, not the original visa.
When can you book your flight?
After approval. Not before.
We get asked every webinar: "Once my visa is approved, do I need to let you know before booking flight tickets?" Yes. Flight tickets should not be booked until you have your Visa Grant Notice in hand and we (and EPIK) give you the green light. Korvia coordinates the timing because orientation arrival dates are EPIK-set and tight; we'll let you know the booking window once orientation logistics are confirmed.
Booking before approval means risking a rebooking fee — or worse, a flight you can't take. A few hundred dollars in airfare difference is not worth that risk.
Need help on a specific step?
If your situation is unique — your consulate's website is unclear, your timing is tight, you're mid-move — You can also reach us through our contact form or by emailing support@korvia.com.
The visa is the last big milestone before the flight. Walk into your consulate prepared, expect the four steps to take two to four weeks end to end, and keep us in the loop as each one closes. Korvia has been EPIK's exclusive recruiting partner since 2008, and most of what your consulate is going to ask, we've heard before.
These steps reflect EPIK's official notice to successful applicants. Each term's notice can update specific details, so confirm the current requirements with your Korean consulate or your Korvia coordinator before you file.